
Positive Thanksgiving Activity: How to Make a Thankful Pumpkin
- Jodi Jill

- Oct 19, 2020
- 3 min read
Updated: Nov 27, 2024
My discovery on how to make a thankful pumpkin came by accident. About ten years ago I saw a fabulous Thanksgiving window decorated when I was in Las Vegas. It had this amazing pumpkin as the centerpiece. I whipped inside and started asking questions. I got to speak to the woman who made that thankful pumpkin and she shared it was a reflection of the year in her thankful tone.

The thankful pumpkin combines the idea of words, gratitude and pumpkins. Which by every means seemed amazing and I wanted to make one! Every year since then I take time to create a thankful pumpkin. This isn’t a one hour task or even a single day event. Typically it takes a couple of weeks before I complete the actual pumpkin.
Positive Thanksgiving Activity for All Ages
The premise is quite revealing too. Perhaps you have had a moment around a Thanksgiving table with friends and family to share something you were grateful for and expressed it. Sometimes you need to prepare for this moment and other times you don’t have enough time to express all the things you might be thankful for. The thankful pumpkin offers up space, time and reflection that seems perfect for the Thanksgiving season. The kids will love thinking back at the year and sharing what was important to them.
Steps on How to make a Thankful Pumpkin
Before you begin with the pumpkin, grab a piece of paper and pen. This will be your absolute list to put on the pumpkin. Keep it with you so you can write down words and situations you are thankful for.
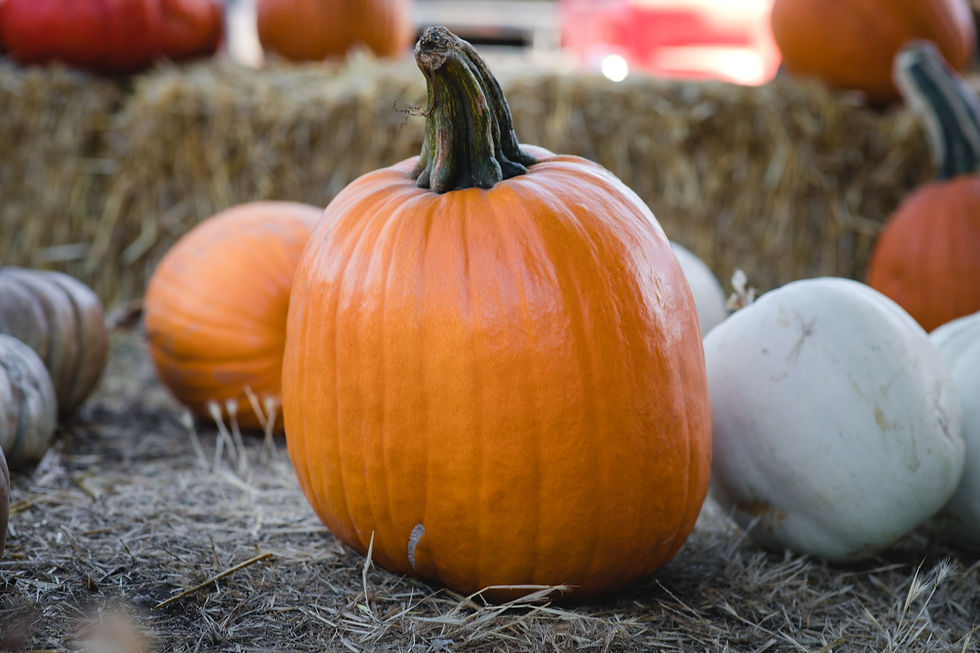
Find a pumpkin perfect to write on. It could be a real pumpkin, a Styrofoam pumpkin at a craft store or a mini gourd. The surface needs to be smooth and have a limited number of wrinkles.
Find some markers. I prefer black, green and blue. Your choices are endless as many colors look amazing on a pumpkin. If you want to just get started, use any permanent marker you might have in the house.
Once your list starts to fill up, add the words to the pumpkin. This should be done over time. Keep adding as you keep finding more moments you were blessed over the past year. You might have a pumpkin finished in about a week. Maybe less depending on what words you decide to use. My thankful pumpkin typically has 200-250 words describing gratitude.
The creative spirit starts when you add the words as that is your perfect style. The style I use identifies how the words are more important to me. Bigger written words offer the most impact on my life and what I feel is extremely important. Smaller words are important too, but those are smaller moments in my life over the past year. The names of people I write in all caps so you can see their impact in my life.
The thankful pumpkin could offer a perfect symmetrical look with the words all being on the same area, written around the pumpkin using the same size writing or even being on the same lines. Or it could be a more freestyle look with words, as they come from your heart, placed as it looks good. Every thankful pumpkin is unique so how you make it is perfect for you.
While this looks like an exercise in writing, you will find your brain working overtime identifying all the other blessings in your life. You might be surprised how many other things you forgot over the past year. The practice of placing your blessings on a pumpkin is a very uplifting and wonderful moment that you can’t find typing on a computer or writing down on paper. Plus, you can share these experiences with others as they admire your thankful pumpkin on the porch.


Comments